Table of Contents
The Facts About Veito Australia: Infrared Radiant Heaters For Indoor And ... Revealed
A little number of outdoor heaters are fitted with integrated heating controls, such as a heat dimmer switch or a dial to switch over in between warm settings. In spite of their name, these heating systems are frequently designed entirely for usage in indoor or covered areas.
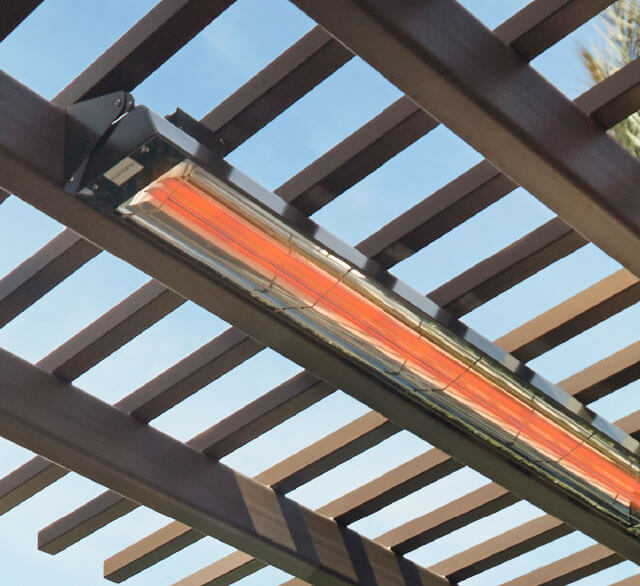
Take pleasure in balmy outdoor entertaining all year long from a crisp autumn evening to the coldest of wintertime nights. Regardless of exactly how big or small your exterior amusing area we have actually got the perfect outside area heating system to keep your visitors toasty warm as well as keep the celebration going longer.
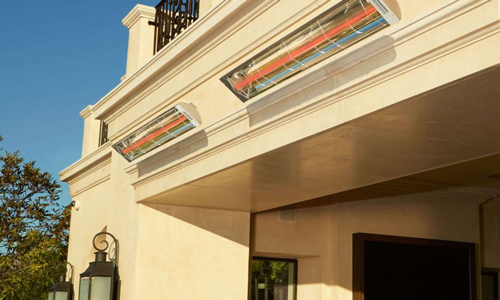
For wall installing, the most affordable component of the heater must be situated at or over a minimum height of 1. 8m from ground level, to ensure that the heating system can not be touched when in operation. Always install flat and do not position the heating system at an angle of even more than 90 and much less than 45 The heating unit ought to always have a minimal clearance of 0.
A Biased View of Infratech Outdoor Infrared Electric Heaters From Keverton ...

The heater must be installed on the installing brackets given. Attach the heater safely on the braces utilizing the nuts as well as screws provided. The brackets can be utilized to change the instructions of the heating unit. Adjust the heating unit angle by loosening the 2 screws on the wall installing brace. Tighten the screws once again when the desired angle is gotten to.
Navigation
Latest Posts
5 Best Portable Gas Bbqs Australia [2023 ] in Adelaide
Cobb Grill – Portable Outdoor Cooking Systems in Perth
The 7 Best Portable Grills Of 2023 - Tested - The Spruce Eats in Canberra